If you desire to enjoy a personalized experience on Windows 10, this tutorial will help you customize and tweak the desktop and user interface. It’ll only require some minutes to make the changes. But once done, you’ll get a new desktop for yourself and guess what? You’ll also find it better than changing the theme.
Does it sound interesting? Well, in this post I’ll be explaining you to the process of customizing Windows 10 – from taskbar to window colors – in a step-by-step guide. Let’s begin then.
8 Tools to Customize Your Windows 10
Windows 10 offers many customization options, but they are either difficult to access or require tinkering with Windows… Read more
1. Personalized Windows 10 Theme
Windows 10 is an awesome operating system, so you get many perks including customizable themes. These themes let you quickly change the color scheme, system icons, and a lot more. Do you wish to try one?
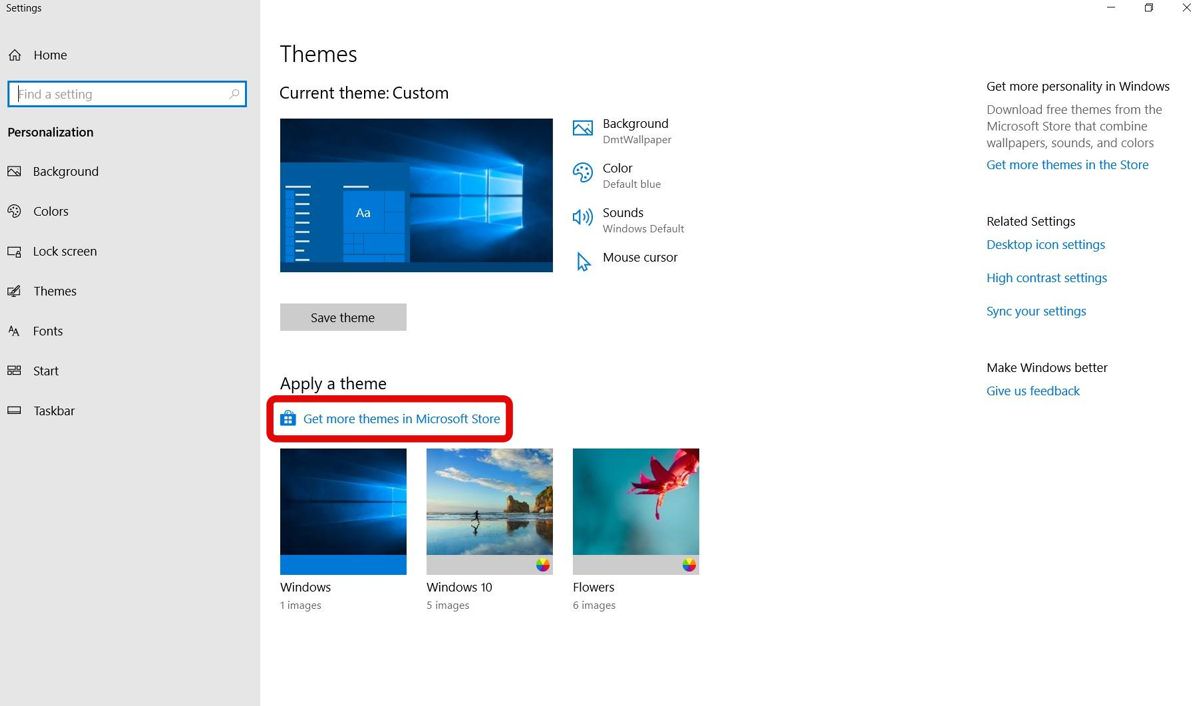
- Open Settings from the Start menu.
- Then, click Personalization and select Themes.
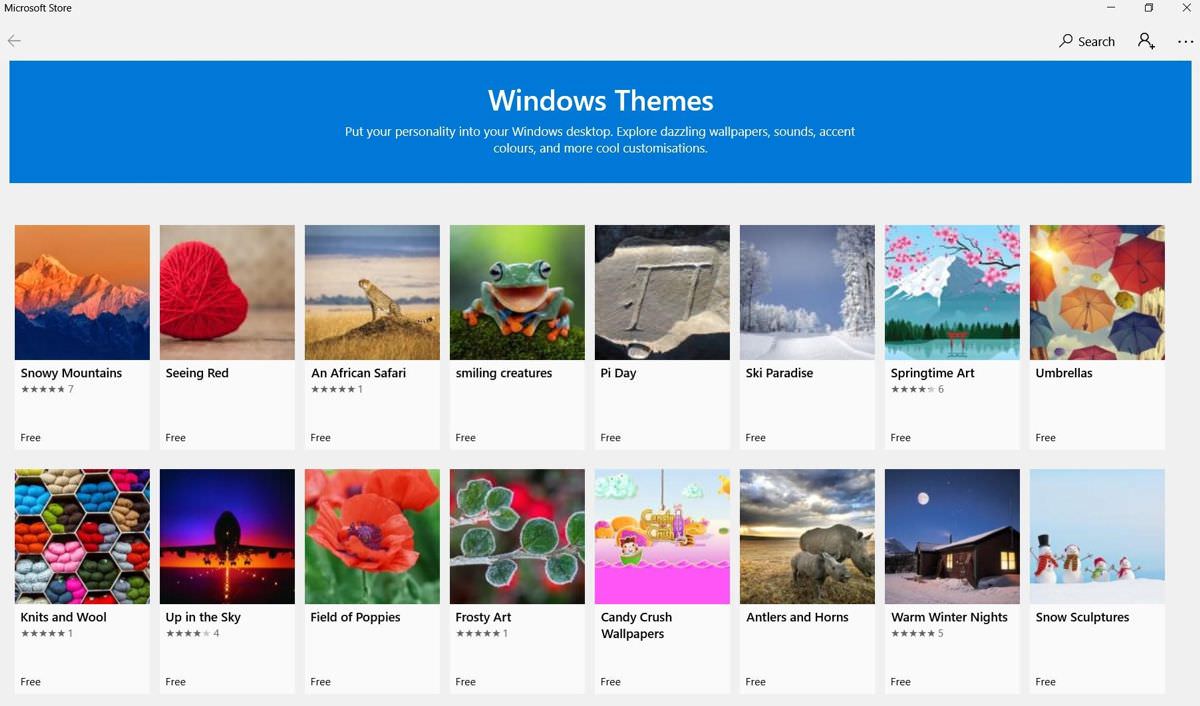
- If you think the themes are not creative enough, then click “Get more themes“. It will show you a huge list of themes in Microsoft Store.
- You can click to select a theme and click the Get button to install it. You can also repeat the process to download multiple themes.
- When the theme(s) finishes downloading to your system, you can check them under Themes under Personalization in Settings.
- At last, click your desired theme to set it on your system.
And finally, you’ll see your desktop changing from:
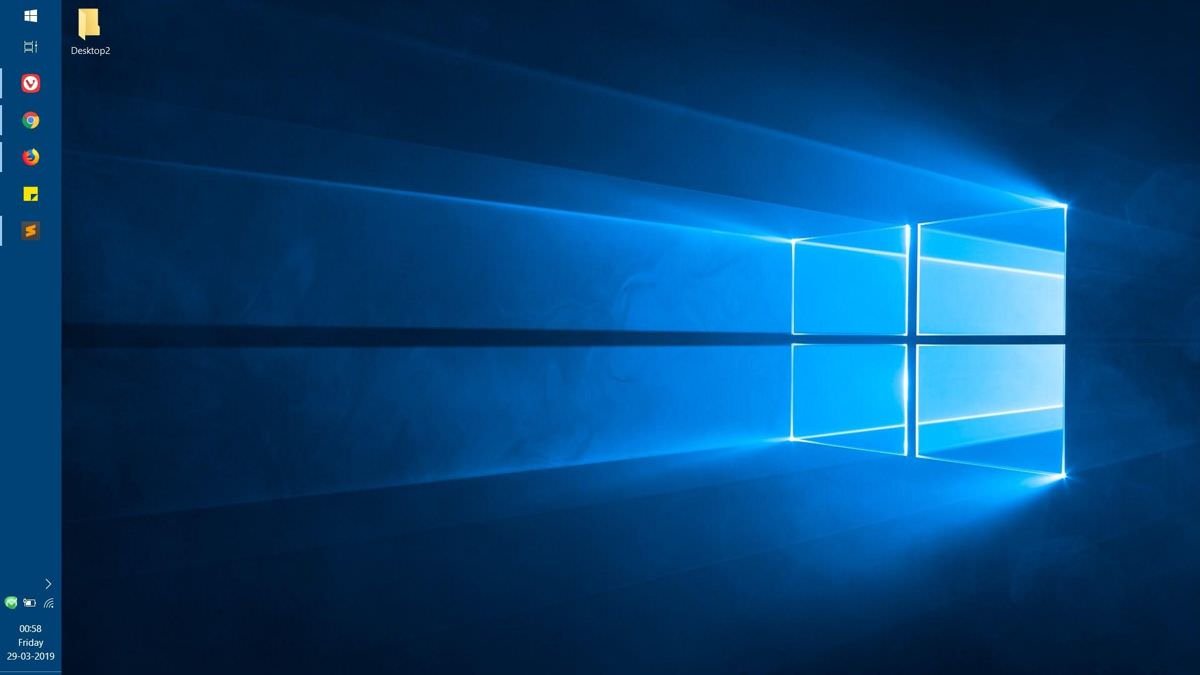
To a brand new desktop like the one shown below. Did I overstated?
It’s not just the desktop wallpaper that’s changed by applying the new theme (as in the above screenshot). It also changed the taskbar’s color, icons’ color, and more, which you’ll visualize after applying the theme on your system.
2. System Customization
If you’re not satisfied after applying the theme, you can always switch back to the original theme named “Windows 10“. But sometimes, you may like the color of a theme, however, maybe you don’t like its background or sounds. This brings us to the question: what can you do if you dislike a part of a theme?
You can customize the theme itself. Let’s check how:
- In Windows 10’s Settings > Personalization.
- Under Themes, you’ll see four options named Background, Color, Sounds, and “Mouse cursor“. You can click on each option to change it.
What will be the result? You’ll customize the theme to make it yours.
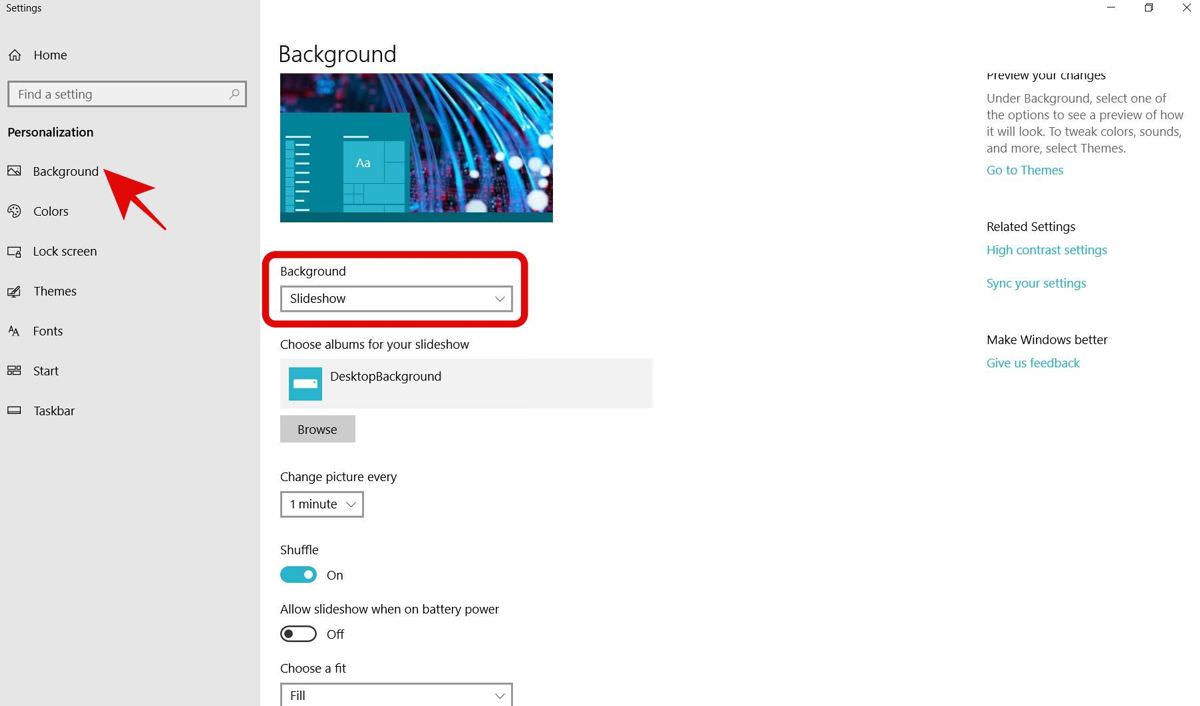
2.1 Changing the background
First off, let’s check how to customize the background in Windows 10:
- Under Settings > Personalization, click Background on the left.
- On this screen, you can choose a color, a picture, or a slideshow of pictures using the options under Background.
- Then, you can customize these as well through the other options provided with each of the options you pick under Background.
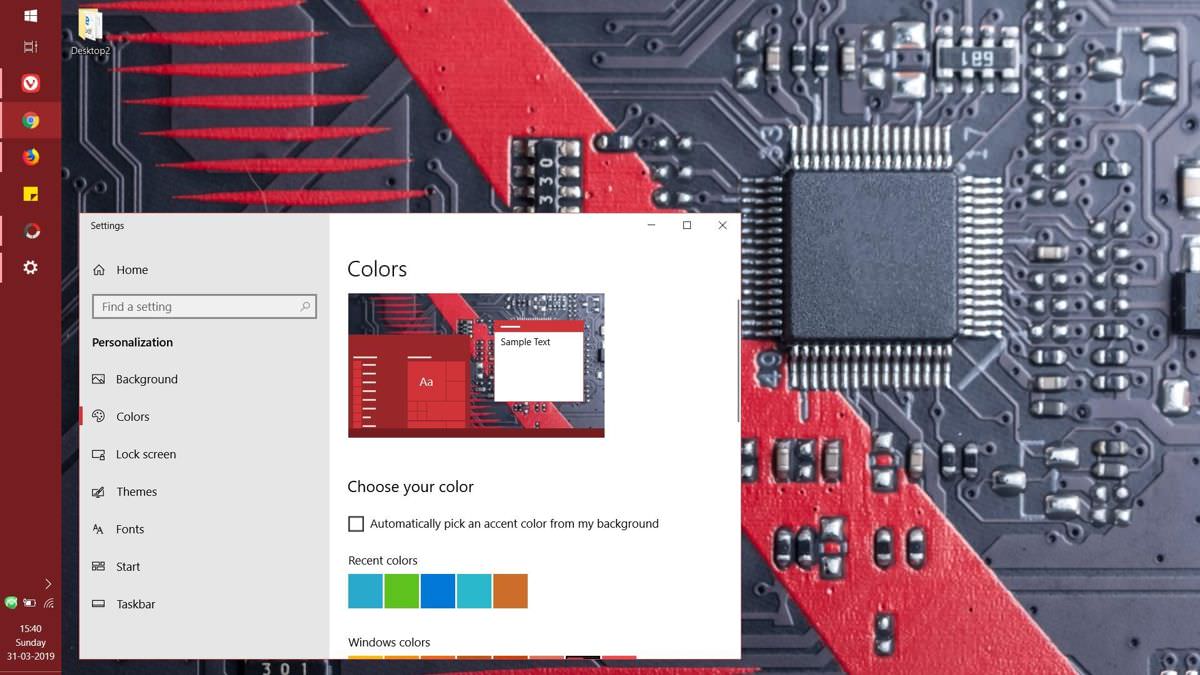
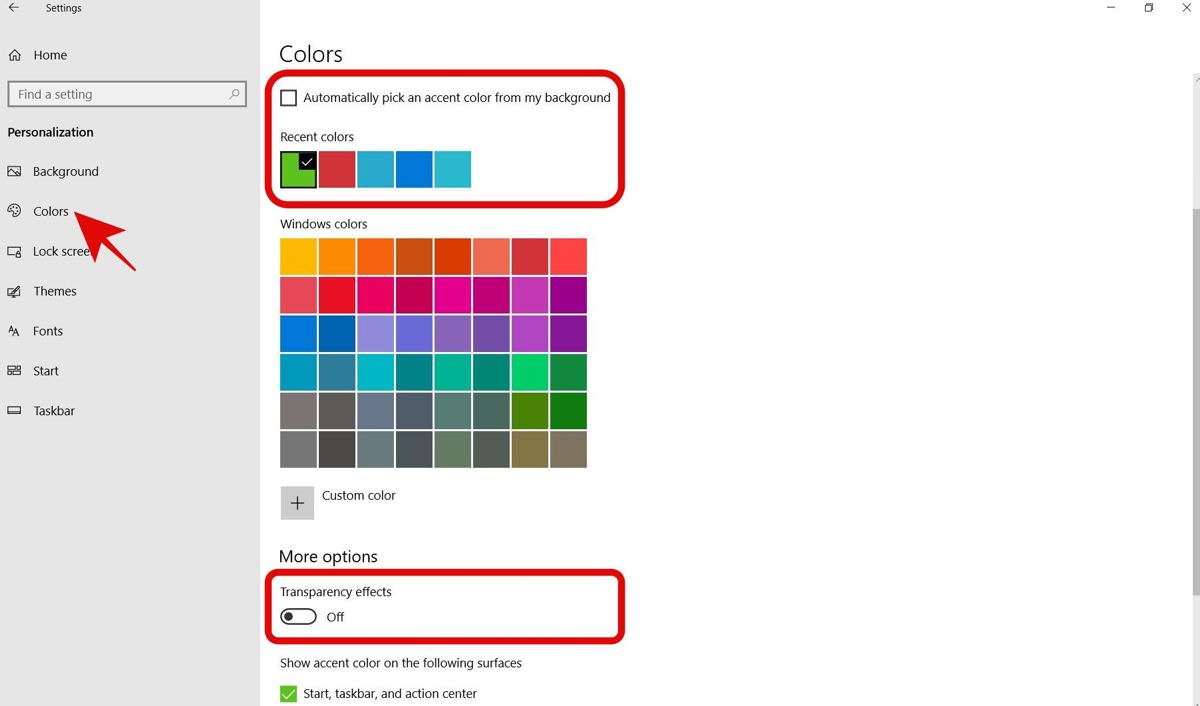
2.2 Changing the colors
Now, below is the guide to customize system colors in Windows 10:
- Under Settings > Personalization, click Colors.
- On this page, you can pick an accent color for all apps and windows or choose to auto-pick a color from the background by checking the option named “Automatically pick an accent color“.
- You can also set transparency by toggling on “Transparency effects“.
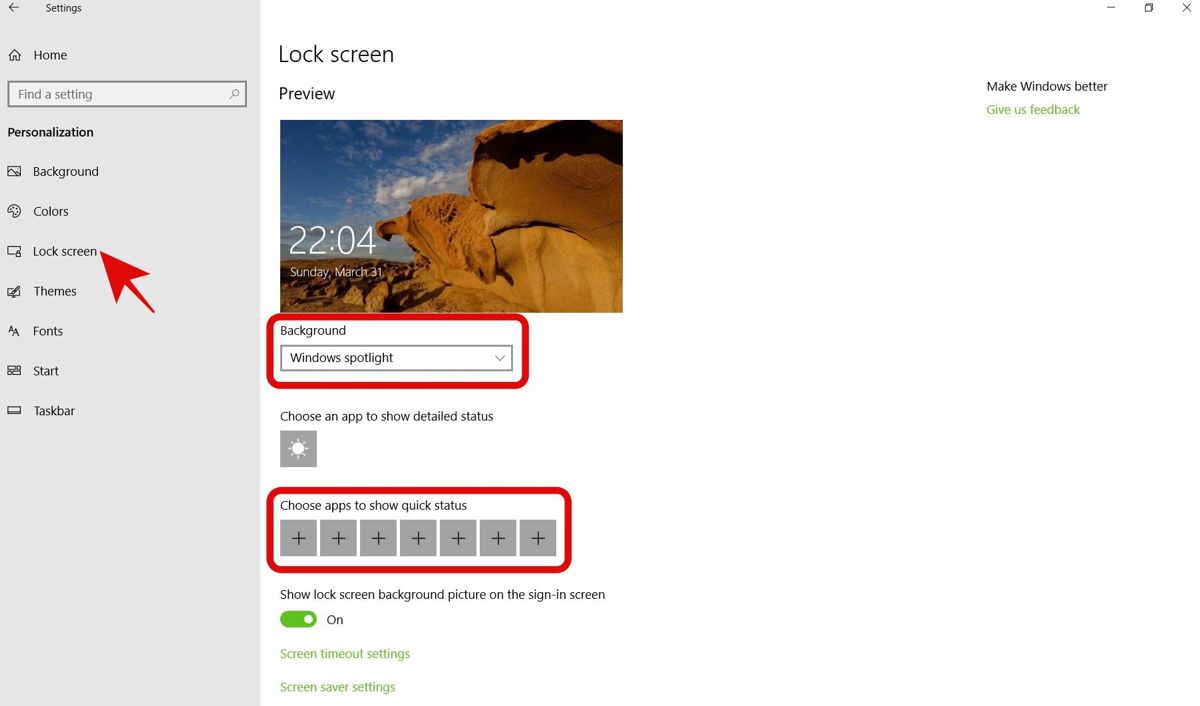
2.3 Changing the Lock screen
Then, let’s see the steps for customizing the lock screen in Windows 10:
- Under Settings > Personalization, choose “Lock screen” from the sidebar.
- Here, you can choose a background for the lock screen — a picture, a slideshow of pictures, or Windows spotlight.
- Then, you can also choose apps to show the status messages using the plus icons like showing the weather information.
2.4 Changing the sounds
Here are the steps to configure sound schemes in Windows 10:
- Open Settings > Personalization.
- Click Themes, then click Sounds in the center.
- In the Sound window, you can pick sounds under “Sound Scheme“.
- Or you can click one of the “Program Events” (like Notification) and choose a sound from the dropdown named Sounds. And finally, click OK.

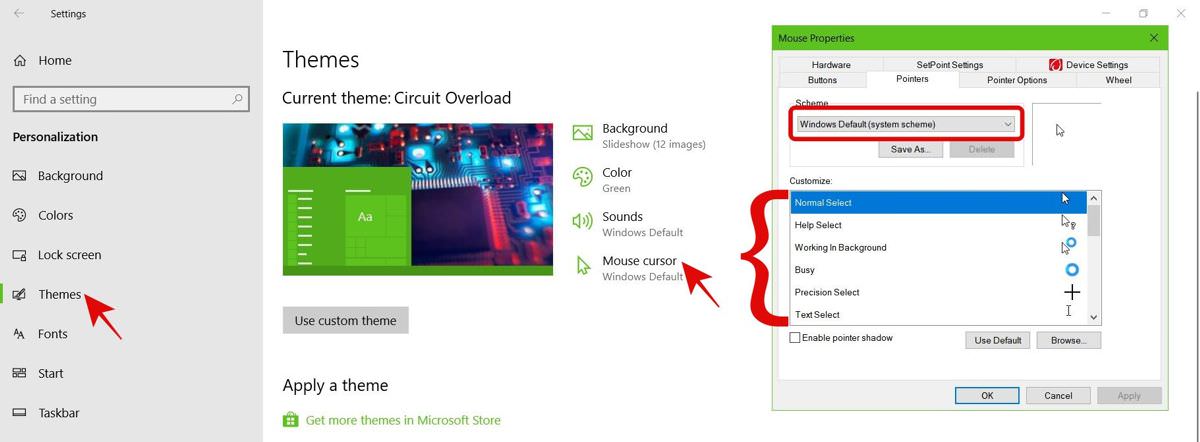
2.5 Changing the mouse cursor
Finally, let’s check the procedure for customizing cursors in Windows 10:
- Go to Settings > Personalization.
- Click Themes on the left and “Mouse cursor” in the center.
- Then, switch to the Pointers tab and choose one set of cursors through the dropdown named Scheme. It lists many cursor schemes.
- Or you can change each cursor under Customize by clicking a cursor, then clicking Browse to select a new cursor file to change it.
3. Using third-party themes
So far, it was all about the native themes available in Windows 10. If those don’t suffice your creative mind, you can always opt for third-party themes. However, you must know that themes from third-party developers may not be as perfect as the default themes. Don’t worry — they’re elegant!
However, they may just break your system or mess things up in Windows 10. Therefore, you must always create a restore point before trying out anything given below. Since I warned you, let’s check the places to get them. I found two good repositories to download third-party themes for Windows 10:
Install the prerequisite tools
Let’s begin by installing the prerequisite software for supporting the third-party theme’s installation in Windows 10.
There are two tools we need for the theme we’re going to install in this tutorial, but if you’re downloading some other theme, please check its prerequisites properly and install them.
- OldNewExplorer – It rolls back modern changes made to the File Explorer, thus making the explorer compatible with third-party themes.
- UltraUXThemePatcher – It patches the system files for letting third-party themes to make design or theme changes to Windows 10.
Install a third-party theme
In this tutorial, we’re going to install Ades — a theme by Unisira. Please note that the steps may differ per theme (for example, the folder to copy the theme files to or the need to install icon packs), so always check the guide given with a third-party theme before trying to install it. That said, let’s install Ades:
- First off, search for “Create a restore point” and open the tool.
- Click Create, then enter a name and click the Create button.
- After the point is created, install the prerequisites given above.
- Now, download Ades from DeviantArt and extract the archive.
- In the extracted files, open the folder per your system version (I need the files for 1709 since my version is 1803) > Themes, and copy all content to this folder: “C:\Windows\Resources\Themes” (confirm if asked).
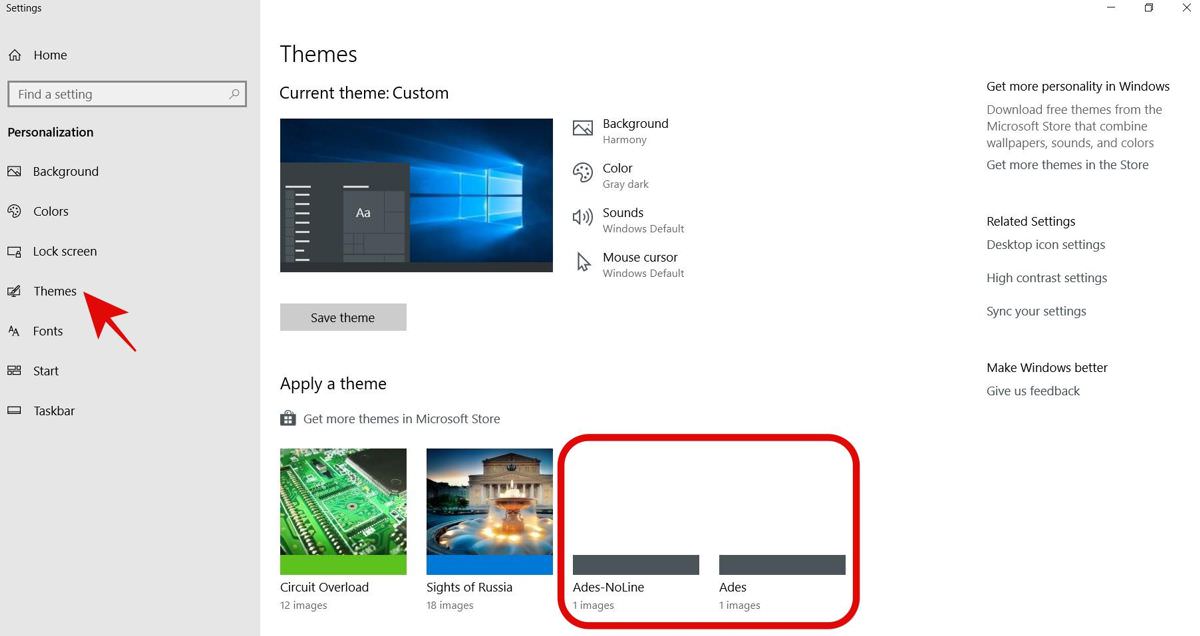
- Then, open Settings > Personalization and head over to Themes.
- On the screen, under Apply a theme, you’ll see Ades > click it.
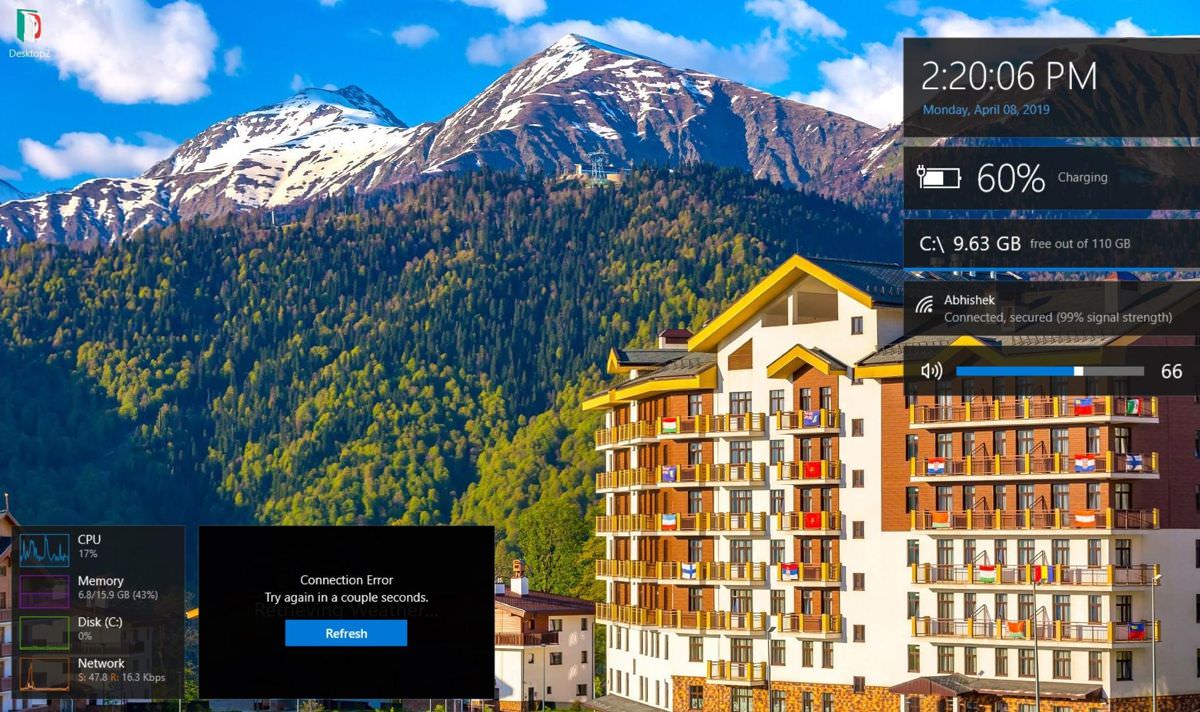
- Voila! You’ll now see your screen themed as in the given screenshot.

Optionally, you can download and install MacType for displaying cleaner fonts on your system. The same also applies for WinRemix iPACK, which will install the green icons shown in the above screenshot. But, they’re totally optional.
Remove a third-party theme
If you wish to go back to the default theme or one of the themes from Microsoft Store, you can go to Settings > Personalization > Themes and select a new theme. Alternatively, you can recover from the restore point you created in the previous section to alter back all the system changes done by you.
The second option is especially necessary if you wish to roll back all the changes made for applying the third-party theme. Let’s say you wish to stick only to the default themes or remove the fonts or icon packs, then you must do it.
4. Display Widgets on Desktop
You must have remembered Desktop Gadgets (or Windows Sidebar) if you’ve used Windows XP or Vista. Unfortunately, they were removed in Windows 7, which was one of the reasons for me to hate Windows 7. Don’t you too?
In case you aren’t aware, desktop gadgets or widgets in Windows are same as home screen widgets in Android. They’re small pieces of software that run on your desktop and display live, useful information. For example, a weather widget may show weather info, a system widget may show storage info, etc.
However; didn’t I just said that Microsoft removed them starting from Windows 7? So how are we going to get them back in Windows 10? The answer: a free and open-source program known as Rainmeter. It’s a desktop customization tool to display fully customizable and functional skins (widgets) on your desktop.
But what’s the catch? Since Rainmeter has a community of skin developers and enthusiasts, it’s easy to search for and get new skins, i.e., new widgets. However, Rainmeter has a long learning curve. That’s why, we’ll install Win10 Widgets — a ready-made set of widgets built over Rainmeter. So let’s get going:
- Download Win10 Widgets and install using the downloaded file.
- After installing it, just go to your desktop and you’ll see the widgets as shown below. If not, then search for “Rainmeter” and run it.
- If you wish to configure any widget, right-click it, and click “Manage skin“. You can change its coordinates (its position on the desktop), set a level of transparency, enable click and drag events, choose monitor, etc.
- In case you need to add more widgets, you can right-click a widget, then go to “Win10 Widgets” > choose a widget > click on one of its sizes.
- If you wish to remove a widget, right-click it, and click “Unload skin“.
Of course, if you’re unhappy with Win10 Widgets, you can try out other widget packs like 8GadgetPack or Widgets HD. Alternatively, if you’re ready for a challenge, you can also create or edit skins of Rainmeter to create your own widgets. In case you’re interested, read its official guide to get started.
That’s all about customizing your desktop and system’s look & feel on Windows 10. If you wish to try more tools, check out our favorite desktop customization tools for Windows. I hope this guide helped you make your system your own. Let me know by writing a comment below or tweeting me to @aksinghnet.
The post How to Personalized Windows 10 For Your Needs appeared first on Hongkiat.
from Irvine Business Signs https://ift.tt/3kUnnKF
via Irvine Sign Company